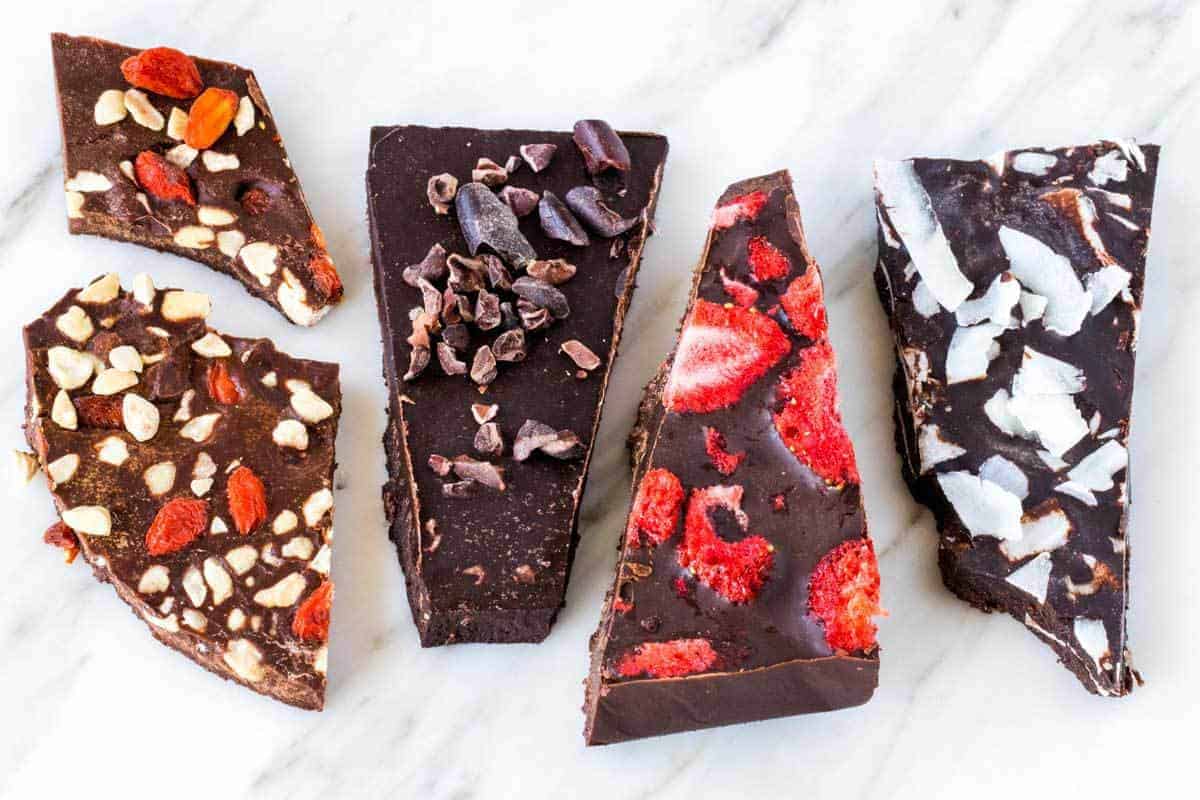
Paleo chocolate is decadent, rich and extremely filling, which is a good thing, because then you can eat a little and feel content & satisfied instead of wanting to scoff it down until you feel sick! Not to mention, it’s one of the most easiest things to make in the world of Paleo. So, grab some cocoa and a spatula and let’s learn how make Paleo Chocolate…
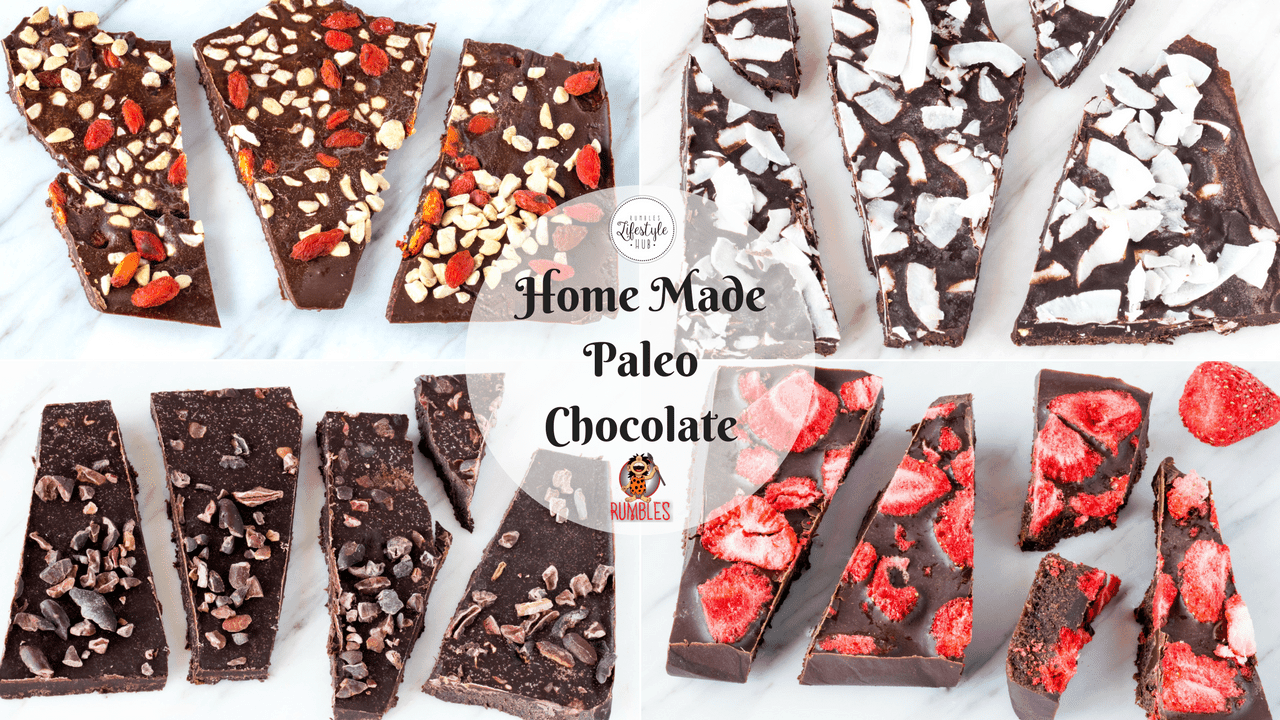
Chocolate, is there anything any better?
What’s your most favourite memory of chocolate?
Mine involves my Nanna, because Grandparents sure do know how to spoil grandkids right?!
My Nanna had a blue melamine tub in her fridge full of chocolate that she’d let us raid whenever we were at her house. She’d never say, “Just one piece now kids, or else you’ll get a tummy ache.” Nope, she’d let us hoe right in. I’d have a Mars Bar in my mouth, while I’d be unwrapping a Cherry Ripe and trying to breathe through the Clinkers I had stuck up my nose!
How to inhale as much chocolate as possible was the name of the game while visiting Nans.
These days, I still love chocolate and I eat it regularly.
Not the chocolate I used to suffocate myself on as a child at Nans though!
I’m talking about good quality, dark chocolate, that’s rich and velvety, instead of sickly sweet. In fact, did you know, that dark chocolate can be healthy for you? How cool’s that! Don’t believe me? Well you can ready my article 10 Reasons Why Chocolate is Healthy for You to learn why it is.
And to celebrate the fact that chocolate can be healthy, I’m going to show you two easy ways to make Paleo Chocolate.
TWO WAYS TO MAKE PALEO CHOCOLATE
PALEO CHOCOLATE RECIPE 1 – USING PRE-MADE CHOCOLATE
For this recipe you’re going to buy a good quality dark chocolate that’s completely dairy free and made with natural ingredients. We highly recommend Rumbles Paleo Choc Rocks (of course) because it gets both the delicious tick of approval and the Paleo tick of approval.
It’s 70% dark and made with only three natural ingredients: two forms of cocoa, coconut sugar and vanilla.
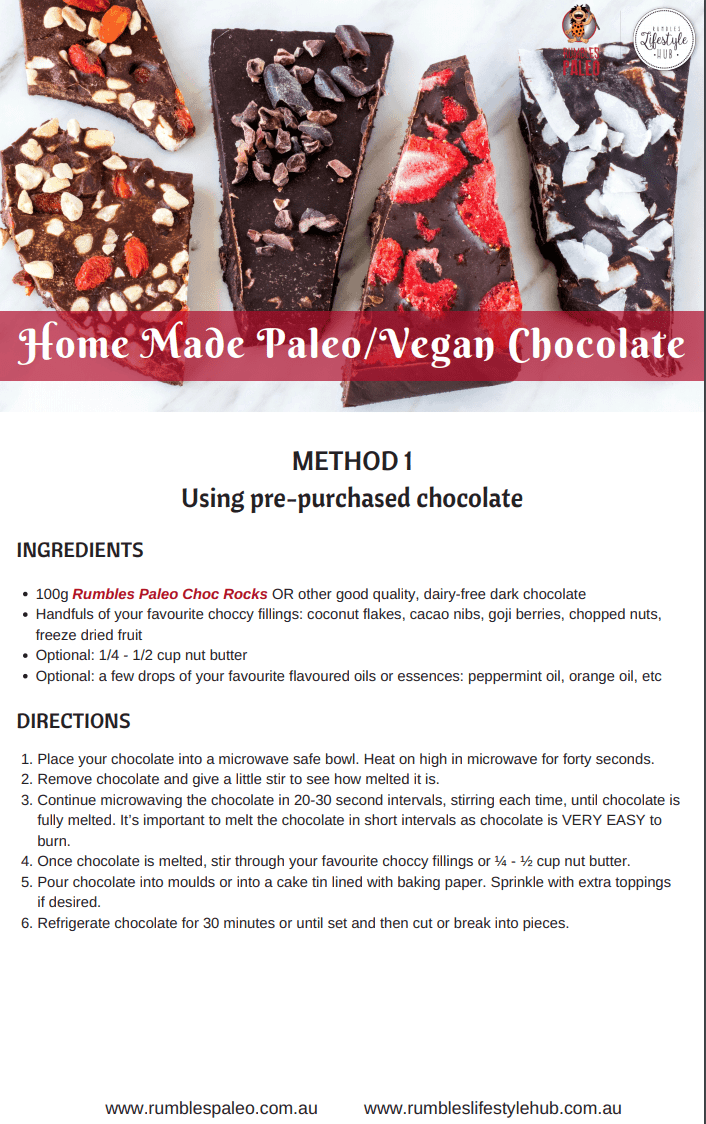
Then you’re simply going to melt it and add in your favourite flavours.
Follow the instructions below or download your very own recipe cards to print off and keep handy, by clicking the button below:
Ingredients
- 100g Rumbles Paleo Choc Rocks
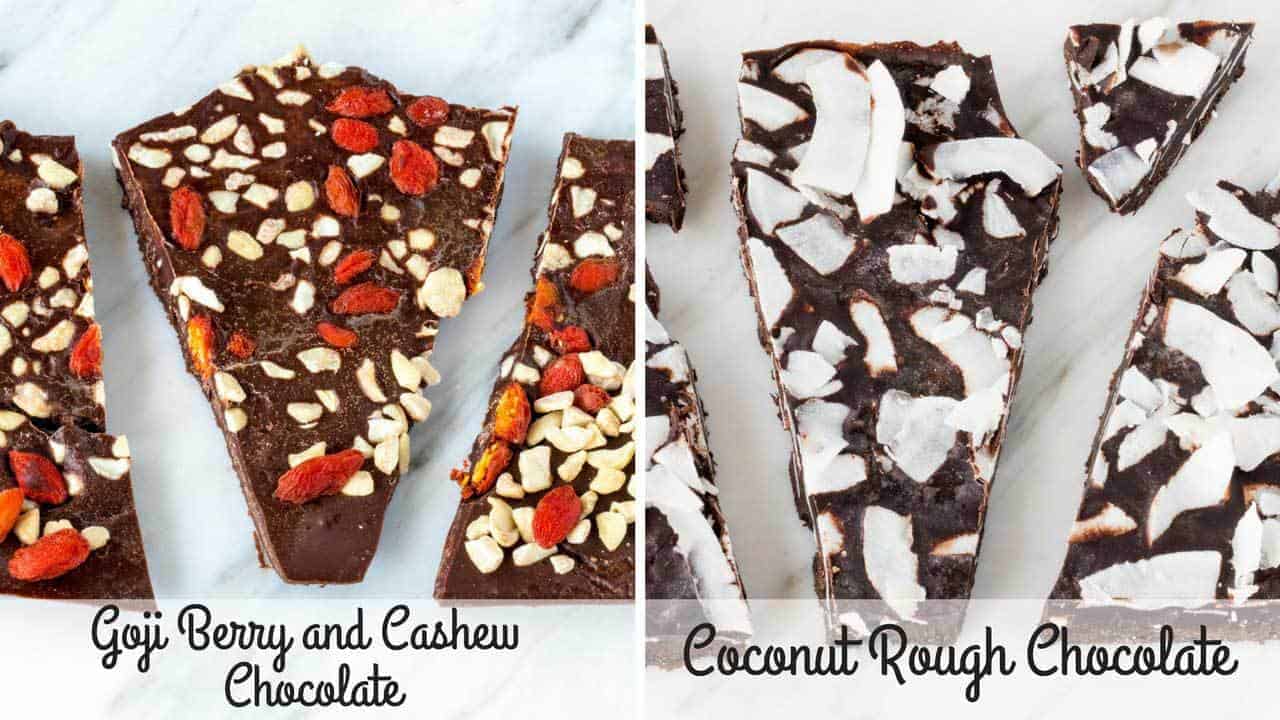
- Handfuls of your favourite choccy fillings: coconut flakes, cacao nibs, goji berries, chopped nuts, freeze dried fruit
- Optional: nut butter
- Or a few drops of your favourite flavoured oils or essences: peppermint oil, orange oil, etc
Directions
- Place your chocolate into a microwave safe bowl. Heat on high in microwave for forty seconds.
- Remove chocolate and give a little stir to see how melted it is.
- Continue microwaving the chocolate in 20-30 second intervals, stirring each time, until chocolate is fully melted. It’s important to melt the chocolate in short intervals as chocolate is VERY EASY to burn.
- Once chocolate is melted, stir through your favourite choccy fillings or ¼ – ½ cup nut butter.
- Pour chocolate into moulds or into a cake tin lined with baking paper. Sprinkle with extra toppings if desired.
- Refrigerate chocolate for 30 minutes or until set and then cut or break into pieces
- Keep chocolate stored in the fridge or freezer (I prefer the freezer)
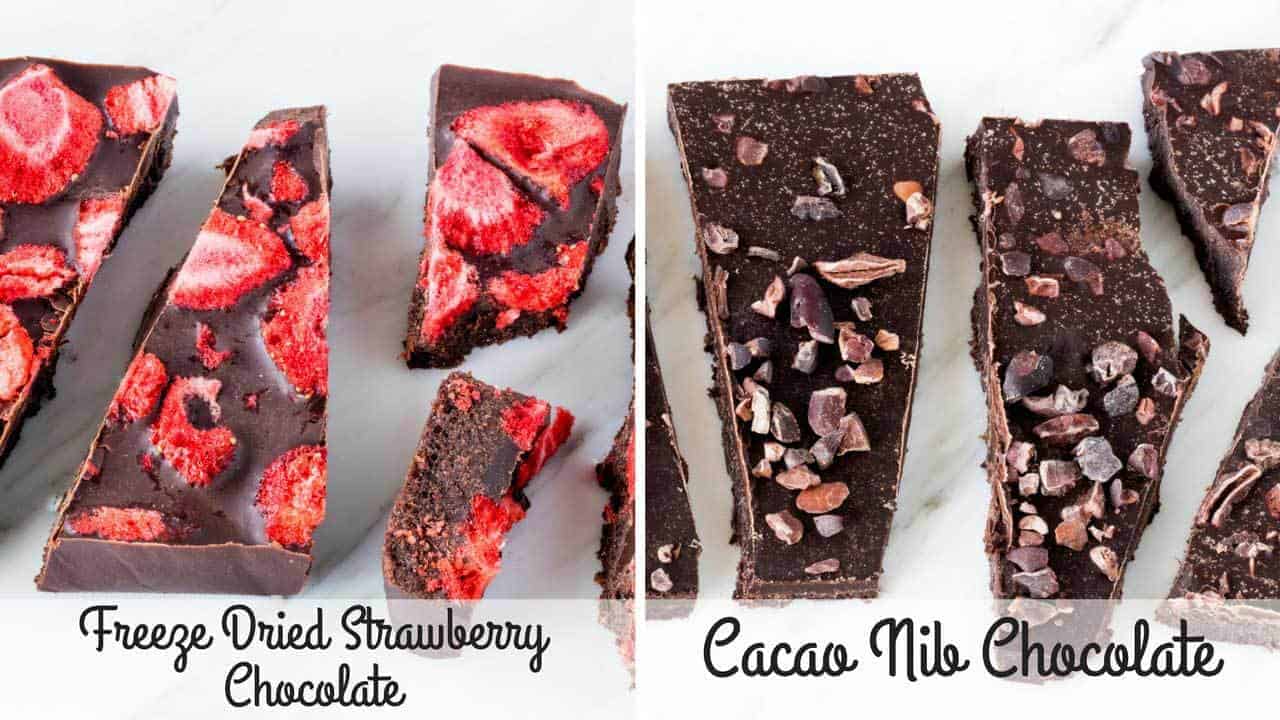
PALEO CHOCOLATE RECIPE 2 – HOME MADE CHOCOLATE
In this recipe I’m going to show you how to make your own chocolate from scratch with only three ingredients! The exact recipe is below or you can download your handy recipe cards by clicking the button below:
Just before I give you the recipe, I want to explain the ingredient options you’ll find in the recipe…
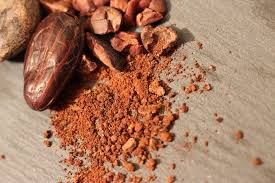
Cacao vs. Dutch Cocoa
I’m going to give you the option to use either cacao or dark Dutch cocoa.
Cocoa is simply roasted cacao and is definitely more chocolate-y in fl
avour.
Cacao has a very earthy, natural flavour which is quite unique.
I prefer the taste of the Dutch cocoa, but cacao has greater nutritional properties as it’s a raw ingredient and hasn’t been denatured by the roasting process.
So, the decision of which to use is up to you…
If you want extra chocolatey, go for cocoa…
If you want extra nutritious, go for cacao.
Cocoa Butter vs. Coconut Oil
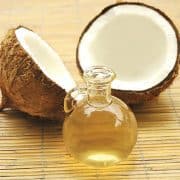 I’m also going to give you the option to use either cocoa butter in your chocolate or coconut oil.
I prefer to use coconut oil for two reasons: I like the taste better and coconut oil is so, so, so, so good for us. It’s also cheaper than cocoa butter and much easier to find in shops.
Cocoa butter is still delicious and still nutritious. It has a much earthier, buttery flavour.
Honey vs. Canadian Maple Syrup vs. Rice Malt Syrup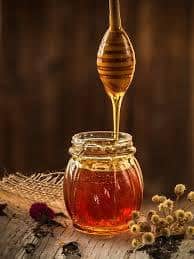
You can pick which sweetener you’d like to use in your recipe too.
Honey is my favourite sweetener and I find you need a lot less of it, to sweeten the chocolate. Just make sure you’re using a good quality, raw honey. These honeys have not been exposed to the extreme heat treatment regular supermarket shelf honey has been, which leaves it just as nutritionally devoid as regular sugar.
Canadian Maple adds a lovely, rich, oaky flavour to the chocolate. Make sure you only ever use 100% Canadian Maple syrup and not those fake Maple Syrups made of high fructose corn syrup, flavourings, and who knows what else.
Rice malt syrup is not as sweet as honey or maple, so you may need to add more. It’s also a very neutral flavour, so use this if you don’t want your sweetener to impact on the taste of the chocolate.
INGREDIENTS
- ½ cup of either Dutch Cocoa or Cacao
- ½ cup of either coconut oil or cocoa butter
- 2-4 tablespoons of either honey, maple or rice malt syrup. I suggest you start with the lower measurement, taste, and then add more slowly, tasting after each addition, until you acquire the sweetness you like.
- Handfuls of your favourite choccy fillings: coconut flakes, cacao nibs, goji berries, chopped nuts, freeze dried fruit
- Optional: 1/4 – 1/2 cup nut butter
- Or a few drops of your favourite flavoured oils or essences: peppermint oil, orange oil, etc
DIRECTIONS
- Place the cocoa or cacao into a medium sized bowl.
- Melt your oil or butter in the microwave for about 30 seconds to a minute, or in a saucepan over medium heat.
- Pour over cocoa/cacao and stir.
- Stir through sweetener of choice.
- Stir through your favourite choccy fillings or ¼ – ½ cup nut butter.
- Pour chocolate into moulds or into a cake tin lined with baking paper. Sprinkle with extra toppings if desired.
- Refrigerate chocolate for 30 minutes or until set and then cut or break into pieces.
- Keep chocolate stored in the fridge or freezer (I prefer the freezer).
